

The Wizard Tour Flow

By Sreemaan K C K S- “Smart Coder”
Most people imagine an elderly man with magical abilities, like Dumbledore from Harry Potter when they hear the word “wizard.” Sadly, this has little to do with the technical term, but it can work wonders when building user interfaces.
A wizard is a setup assistant that leads the user through a set of requirements or procedures that must be fulfilled in order to finish a task. The order in which wizard panels operate is determined by the Wizard tour flow. Wizard panels can either follow a single process flow from beginning to end or they can diverge into numerous separate process flows.
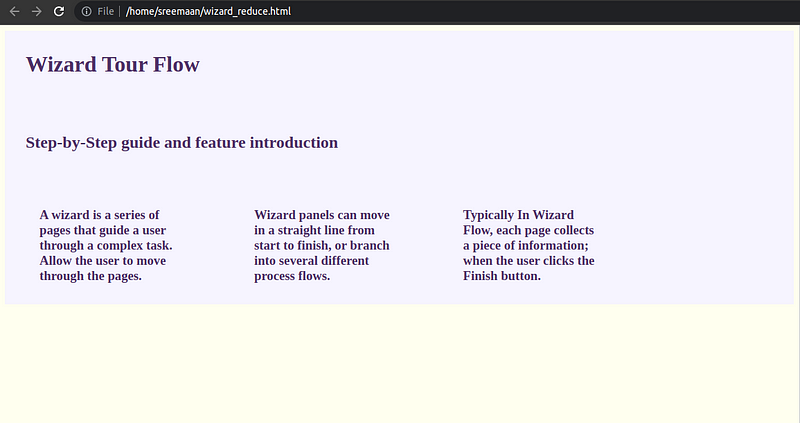
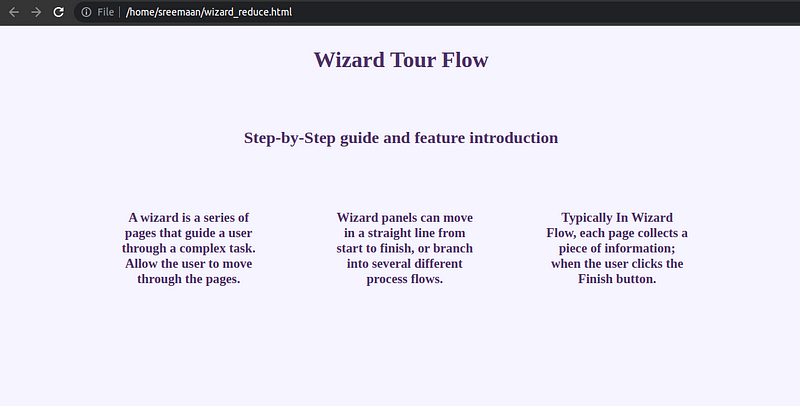
In simple words, “Wizard tour flow” is essentially a tour of the entire page or website. For a better understanding, check out the sample below.

The website walks the user through the “Wizard tour flow” of all the features and other content that are present in the website when they enter a new website or any new platform that they have never visited before, as shown in the example above. From this guide, the user gets a fundamental understanding of the website and how to use it. Wizard Tour flows are frequently used in mobile apps, particularly games.
The Wizard tour flow requires more lines of JS code to implement, however, by using a simple example we will demonstrate how to construct the wizard tour flow in a step-by-step manner with minimal JS code.

For this wizard tour flow implementation, I have used HTML Code structure along with CSS for styling and JS for interactions.
<html>
<head>
<meta charset="UTF-8">
<title>Wizard Tour Flow</title>
</head>
<style>
   {...css stylings }
</style>
<body>
<div class = “wholePage”>
<h1 class="title">
<span>Title</span>
<div>
         {...tooltip content}
</div>
</h1>
</div>
<script>
 {...Js functionality }
</script>
</body>
</html>Create a Whole Container for the page which contains all the required elements.
Html Code:-
<div class="container">
 {...elements}
</div>
We must invoke the CSS property using the Class name. The class name and the property name ought to be identical.
Css Code:
.container {
position: fixed;
left: 0;
top: 0;
width: 100%;
height: 100%;
background-color: #f6f4ff;
text-align: center;
color: rgb(79, 50, 103);
}
Inside the container, we have to create the elements one by one.
Html Code:-
<h1 class="title">
<span>Wizard Tour Flow</span>
</h1>
<h2 class="subtitle">
<span>Step-by-Step guide and feature introduction</span>
</h2>
<div class="content">
<h3>A wizard is a series of pages that guide a user
through a complex task. Allow the user to move through the pages.</h3>
<h3> Wizard panels can move in a straight line from
start to finish, or branch into several different process flows.</h3>
<h3>Typically In Wizard tour flow, each page collects a piece
of information; when the user clicks the Finish button.</h3>
</div>
Css Code:
.title{
padding: 30px;
width: 300px;
margin: 0 auto 20px;
position: relative;
}
.subtitle{
padding: 30px;
width: 500px;
margin: 0 auto 30px auto;
position: relative;
}
.content{
display: flex !important;
padding: 30px 0;
width: 80%;
margin: 0 auto;
position: relative;
}
p{
margin: 0 0 30px 0;
font-size: 1rem;
}

h3{
margin: 0 50px;
 }
First, we must specify a common class name for the elements and need to create a div block that contains buttons (next, skip) inside each element, that we are going to highlight on the web-page. By using onClick() event we have to call the Javascript function to traverse.
Classname = “tourflow”
Html Code:-
<h1 class="title tourflow">
<span>Wizard Tour Flow</span>
<div class="tooltip">
<p>Title of the Project</p>
<button class="next" onClick="nextStep()">next</button>
<button class="skip" onClick="dismiss()">skip</button>
</div>
</h1>
<h2 class="subtitle tourflow">
<span>Step-by-Step guide and feature introduction</span>
<div class="tooltip">
<p>Sub Heading of the project</p>
<button class="next" onClick="nextStep()">next</button>
<button class="skip" onClick="dismiss()">skip</button>
</div>
</h2>
<div class="content tourflow">
<h3>{...content}</h3>
<h3>{...content}</h3>
<h3>{...content}</h3>
<div class="tooltip">
<p>Content of the project</p>
<button class="skip" onClick="dismiss()">skip</button>
</div>
</div>
Css Code:
.tooltip{
font-size: 10px;
border: 1px solid;
border-radius: 15px;
color: #33363e;
font-weight: bold;
position: absolute;
bottom: -110px;
left: 50%;
display: none;
transform: translateX(-50%);
background: white;
padding: 1rem;
z-index: 2;
}
.tooltip::after{
content: "";
position: absolute;
top: -8px;
left: 50%;
transform: translateX(-50%);
margin-left: -8px;
width: 0px;
height: 0px;
border-bottom: 8px solid white;
border-right: 8px solid transparent;
border-left: 8px solid transparent;
}
For Background blur, adding a div element inside the Container class.
Html Code:-
<div class="overlay">{for blurring the background}</div>Css Code:
.overlay{
position: fixed;
left: 0;
top: 0;
width: 100%;
height: 100%;
background-color: rgba(0, 0, 0, 0.5);
text-align: center;
display: block;
}
Note: The z-index property specifies the stack order of an element. A higher stack order element is always in front of a lower stack order element.
While the page loads, the “tourflow” starts. Now we have to traverse them one by one.
JS Code:-
const collection = document.getElementsByClassName("tourflow");By using HTML DOM elements, getting the elements which have the class name “tourflow” and assigning the objects to a block-scoped constant.
Html Code:-
<button class="next" onClick="nextStep()">next</button>By clicking on the next button, the onClick event calls the nextStep() function
JS Code:
let index = 0;
nextStep();
function nextStep(){
Object.keys(collection).forEach( (item,i) => {
    i === index?(collection[i].classList.add("active")):inactive(i);
   })
   index++;
}
Css Code:
.active{
border: 1px solid;
background: #f6f4ff;
z-index: 2;
border-radius: 15px;
}
.tourflow.active .tooltip{
display: block;
}
By adding the above two classes, it overrides the existing Css. And it highlights the tooltip and tourflow content.
function inactive(j){
 collection[j].classList.remove("active");
}
5. This HTML DOM removes the class active from the element.
Html code:
<button class="skip" onClick="dismiss()">skip</button>By clicking on the skip button, the onClick event calls the dismiss() function.
JS Code:
function dismiss(){
 bg[0].classList.add("overlay_inactive");
Object.keys(collection).forEach((item,i) => inactive(i));
}
Css Code:
.overlay_inactive{
display: none;
}
JSFiddle Code Platform: https://jsfiddle.net/Sreemaan_KCKS/6agy08v2/2/
Wizards can assist users with limited domain knowledge by streamlining procedures and directing the users. As you carry on creating, I hope you have a better idea of how a wizard may significantly improve the satisfaction and comfort of your designs when it is created simply and with a specific aim in mind.
Author
Reviewed By
Kartheek M And Harinniy Gopikannan
Editor
We at CaratLane are solving some of the most intriguing challenges to make our mark in the relatively uncharted omnichannel jewellery industry. If you are interested in tackling such obstacles, feel free to drop your updated resume/CV to careers@caratlane.com


Leave a Reply