

Understanding Auto Layout and Constraints in Swift: A Comprehensive Guide

By Ramasamy P— “Learning Monk”

Auto layout is a constraint-based layout system. It allows developers to create an adaptive UI that responds appropriately to changes in screen size and device orientation. Without using auto layout, it would be very hard for you to create an app that supports all screen resolutions. Auto Layout constraints allow us to create views that dynamically adjust to different size classes and positions. The constraints will make sure that your views adjust to any size changes without having to manually update frames or positions.
Auto Layout is a way that lets developers create a user interface by defining relationships between elements. It provides a flexible and powerful system that describes how views and UI controls relate to each other. By using Auto Layout, you can get incredible control over layout, with a wide range of customization, and yield the perfect interface. Auto Layout is a fantastic tool. It does things that earlier technologies could never dream of.
Imagine IOS development without auto layout, the frames and placement of the views or button that is placed on the storyboard may not be the same for all the devices ie. It may be a good fit for iPhone 14 Pro but it may not be the same case for iPhone SE 3 generation. This may be because of the different frame sizes for each device. In the case of iPhone 14 Pro, the frames are 393 widths and 852 height whereas for iPhone SE it is 320 widths and 568 height. So that it may look different on different devices.
Let us see an example without setting constraints

This is the final view of the iPhone 14 Pro

This is the final view of the iPhone SE 3 generation
Like the previous scenarios, the placement of images or buttons may differ in devices, and even in some worst cases, it may disappear. To avoid these scenarios auto layout is used.
Using Storyboard go through the easy ways of implementing Auto Layout in this article.
The Add New Constraints menu is at the bottom-right of the editor. Use this menu to add new constraints to UI elements like buttons and labels.

By clicking the icon present in the bottom right corner a bar opens up in which the constraints can be set for
The numbers could be entered in the boxes that are present to fix the constraints. To give the default size, the checkbox could be enabled which is present before the width and height. This is a basic way of implementing Auto layout and constraints
In the below case, a button is selected and dragged to another then many options could be seen in it where equal heights and equal widths are selected so that it appears similar in all devices with equal heights and widths.

Click and drag an item in the storyboard, the center horizontally and center vertically could be viewed if it is enabled by clicking, it displays the item selected in the center of the view. Even any one of them could be selected to display in the center either horizontally or vertically.

If Auto Layout is forced to reduce the height of the flag, it will reduce its width by the same proportion. It helps to remain the view the same on all devices. By clicking Add new constraint menu aspect ratio could be added.
By default, all constraints will have priority 1000, so Auto Layout will fail to find a solution in our current layout. In this case, if height is made optional or a priority as 999 — it means Auto Layout can find a solution to our layout: shrink the labels to make them fit in the device.

Up until now Auto Layout has been using constraints with constant widths and heights, but there is another way. This involves using multipliers.

Viewing the constraints:
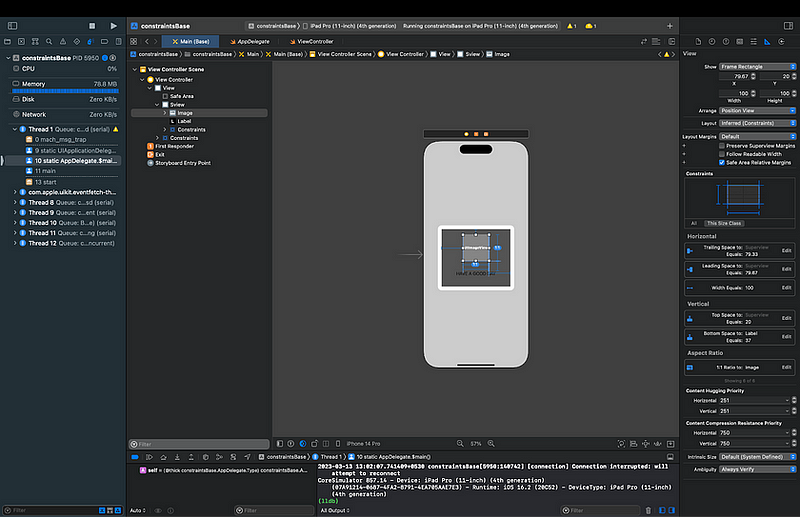
The constraints can be viewed by clicking on the size inspector.

By clicking on the UI Debugger in the left corner we can see how the UI has been designed in a way to rotates. View Hierarchy Debugger provides the ability to inspect and understand the UI hierarchy. App’s hierarchy, views, constraints, and view controllers, are displayed as a hierarchical list. Object inspector and size inspector. And even an interactive 3D model. All are built-in in Xcode.

The constraints can be removed either by clicking the constraints and deleting them Or by selecting the constraint which needs to be removed and clicking resolve auto layout issues -> selecting remove constraints

By clicking the red colored icon which appears on the top left corner we could see the missing constraints, it could be clicked and update the constraints or update the frames.

Minimum 4 constraints should be added for an item that is placed in the storyboard in some cases even 5 cases could be a minimum limit, without these minimum constraints one can’t set constraints. At maximum, one can set any number of constraints
“Whenever possible, use Interface Builder to set your constraints. Interface Builder provides a wide range of tools to visualise, edit, manage, and debug your constraints.” — Tim Cook
Having learned how to create straightforward constraints for an iOS application. These constraint techniques through the storyboard will be the go-to method most of the time, if you are working with a reasonably simple and even complex storyboard, the constraints shouldn’t be much of an issue.
Author
Editor
We at CaratLane are solving some of the most intriguing challenges to make our mark in the relatively uncharted omnichannel jewellery industry. If you are interested in tackling such obstacles, feel free to drop your updated resume/CV to careers@caratlane.com!


Leave a Reply